How to Create a Custom Template
What is a JotPsych template?
A template defines the structure, flow, and sections of your session note (e.g., HPI, Mental Status Exam, Assessment, Plan).
Templates guide how the AI generates notes — ensuring your notes follow a consistent format and match your clinical or billing needs.
Why create a custom template in JotPsych?
Customize the layout to match your personal workflow or documentation style.
Ensure notes reflect the specific requirements of your specialty, workplace preferences, or EHR.
Save time by skipping edits — notes come out closer to what you want from the start.
How to create a custom template
JotPsych allows you to create a custom template in several ways:
Customize an existing JotPsych template: Go to Documentation > Note Templates, and select a built-in template (e.g., Med Check + Therapy). You can rename it and add, remove, or reorder sections to suit your preferences.
Use our AI template editor to build your own: On the templates page, select any template (either a built-in template or “Start From Scratch” in the lower-left corner) and continue customizing it using our AI template editor.
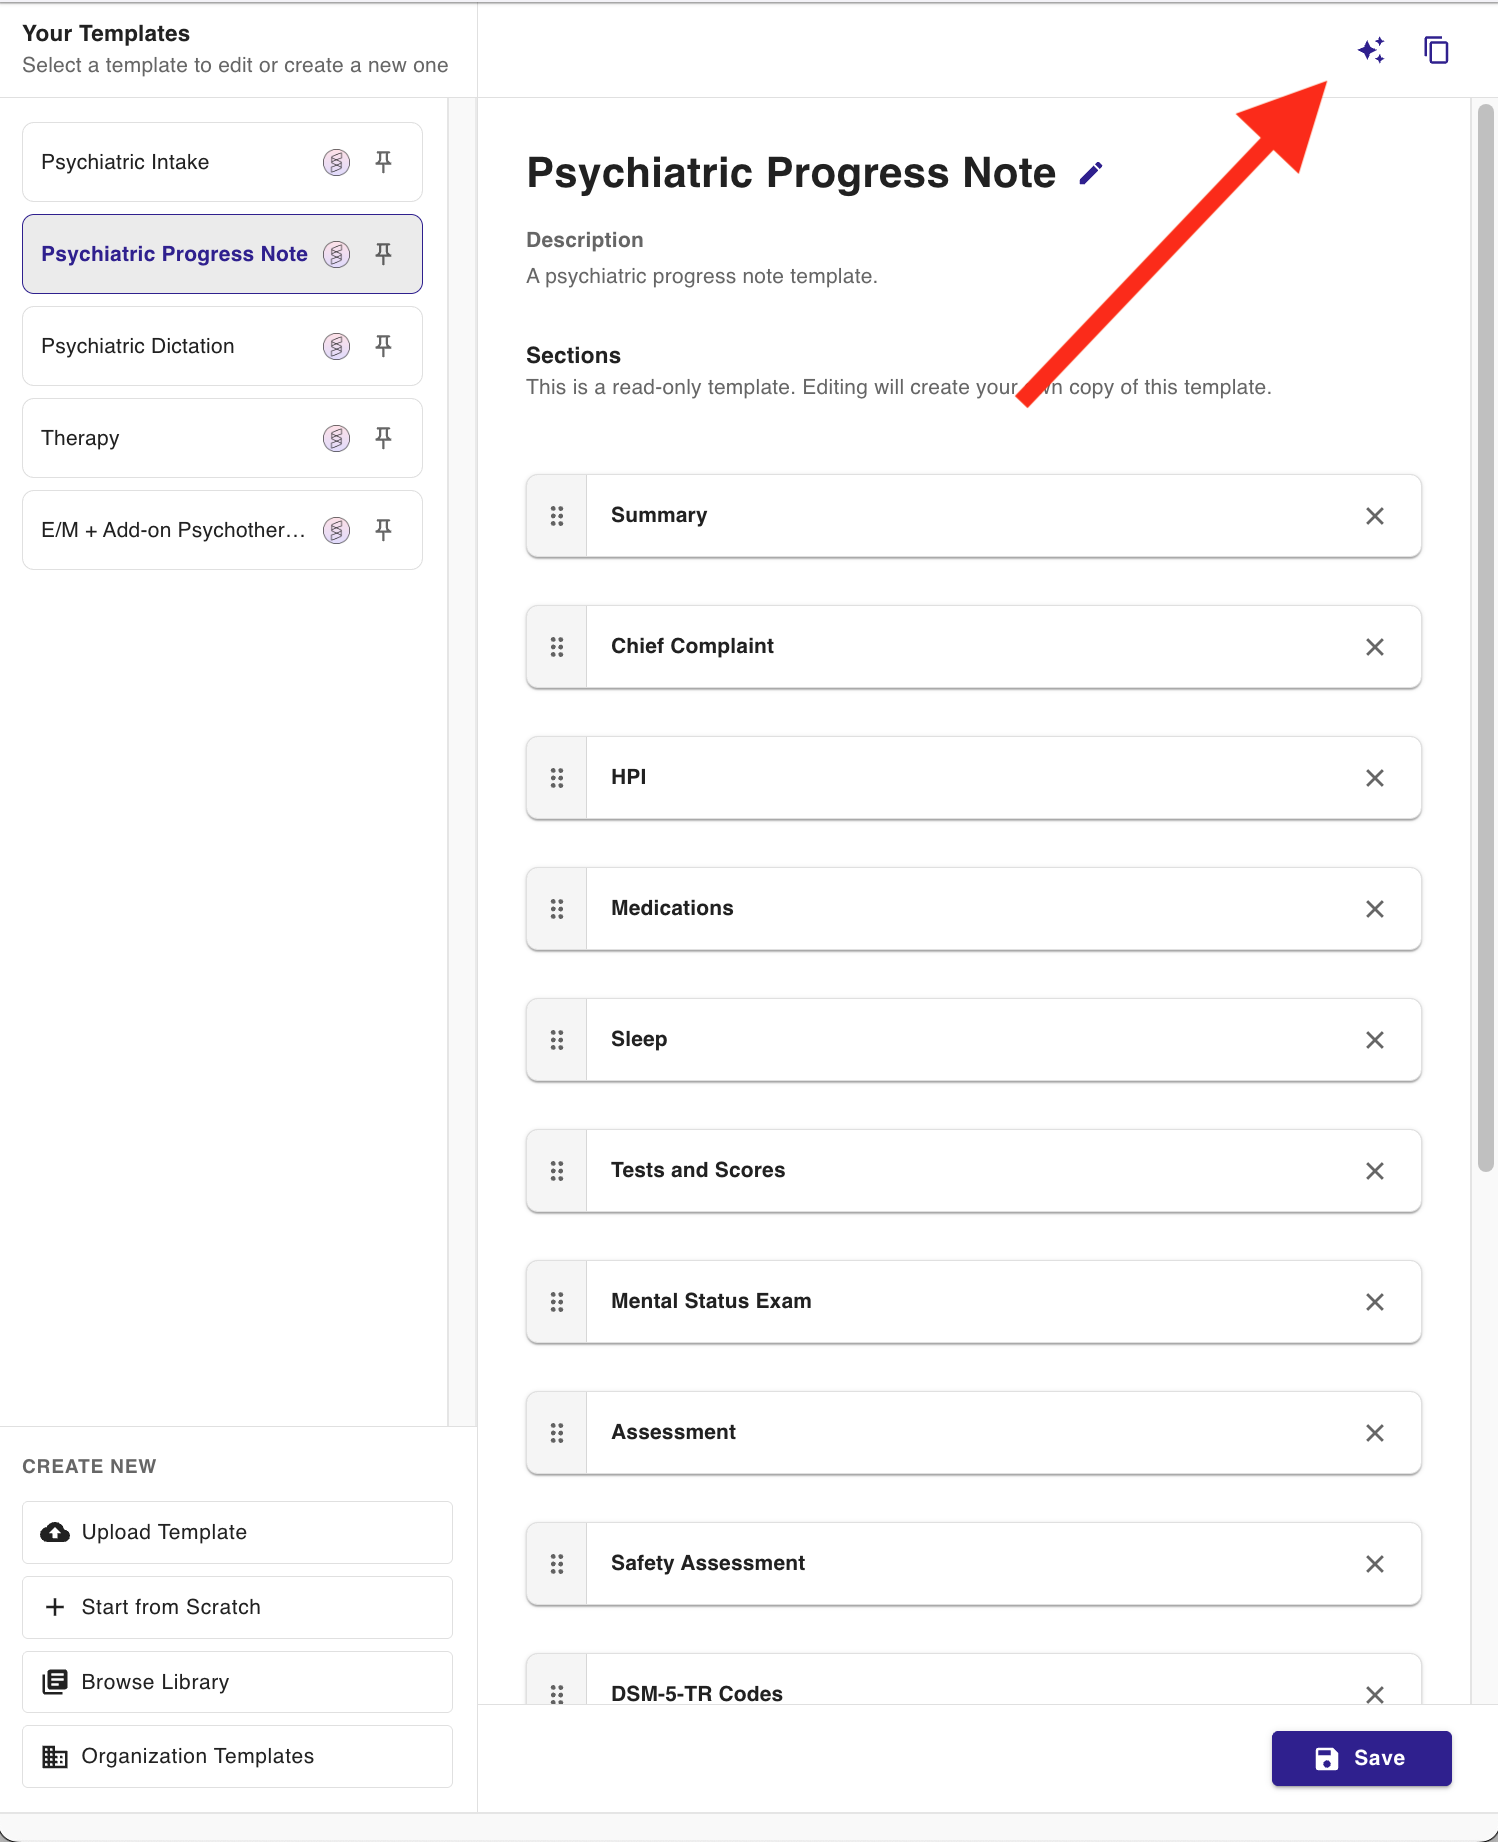
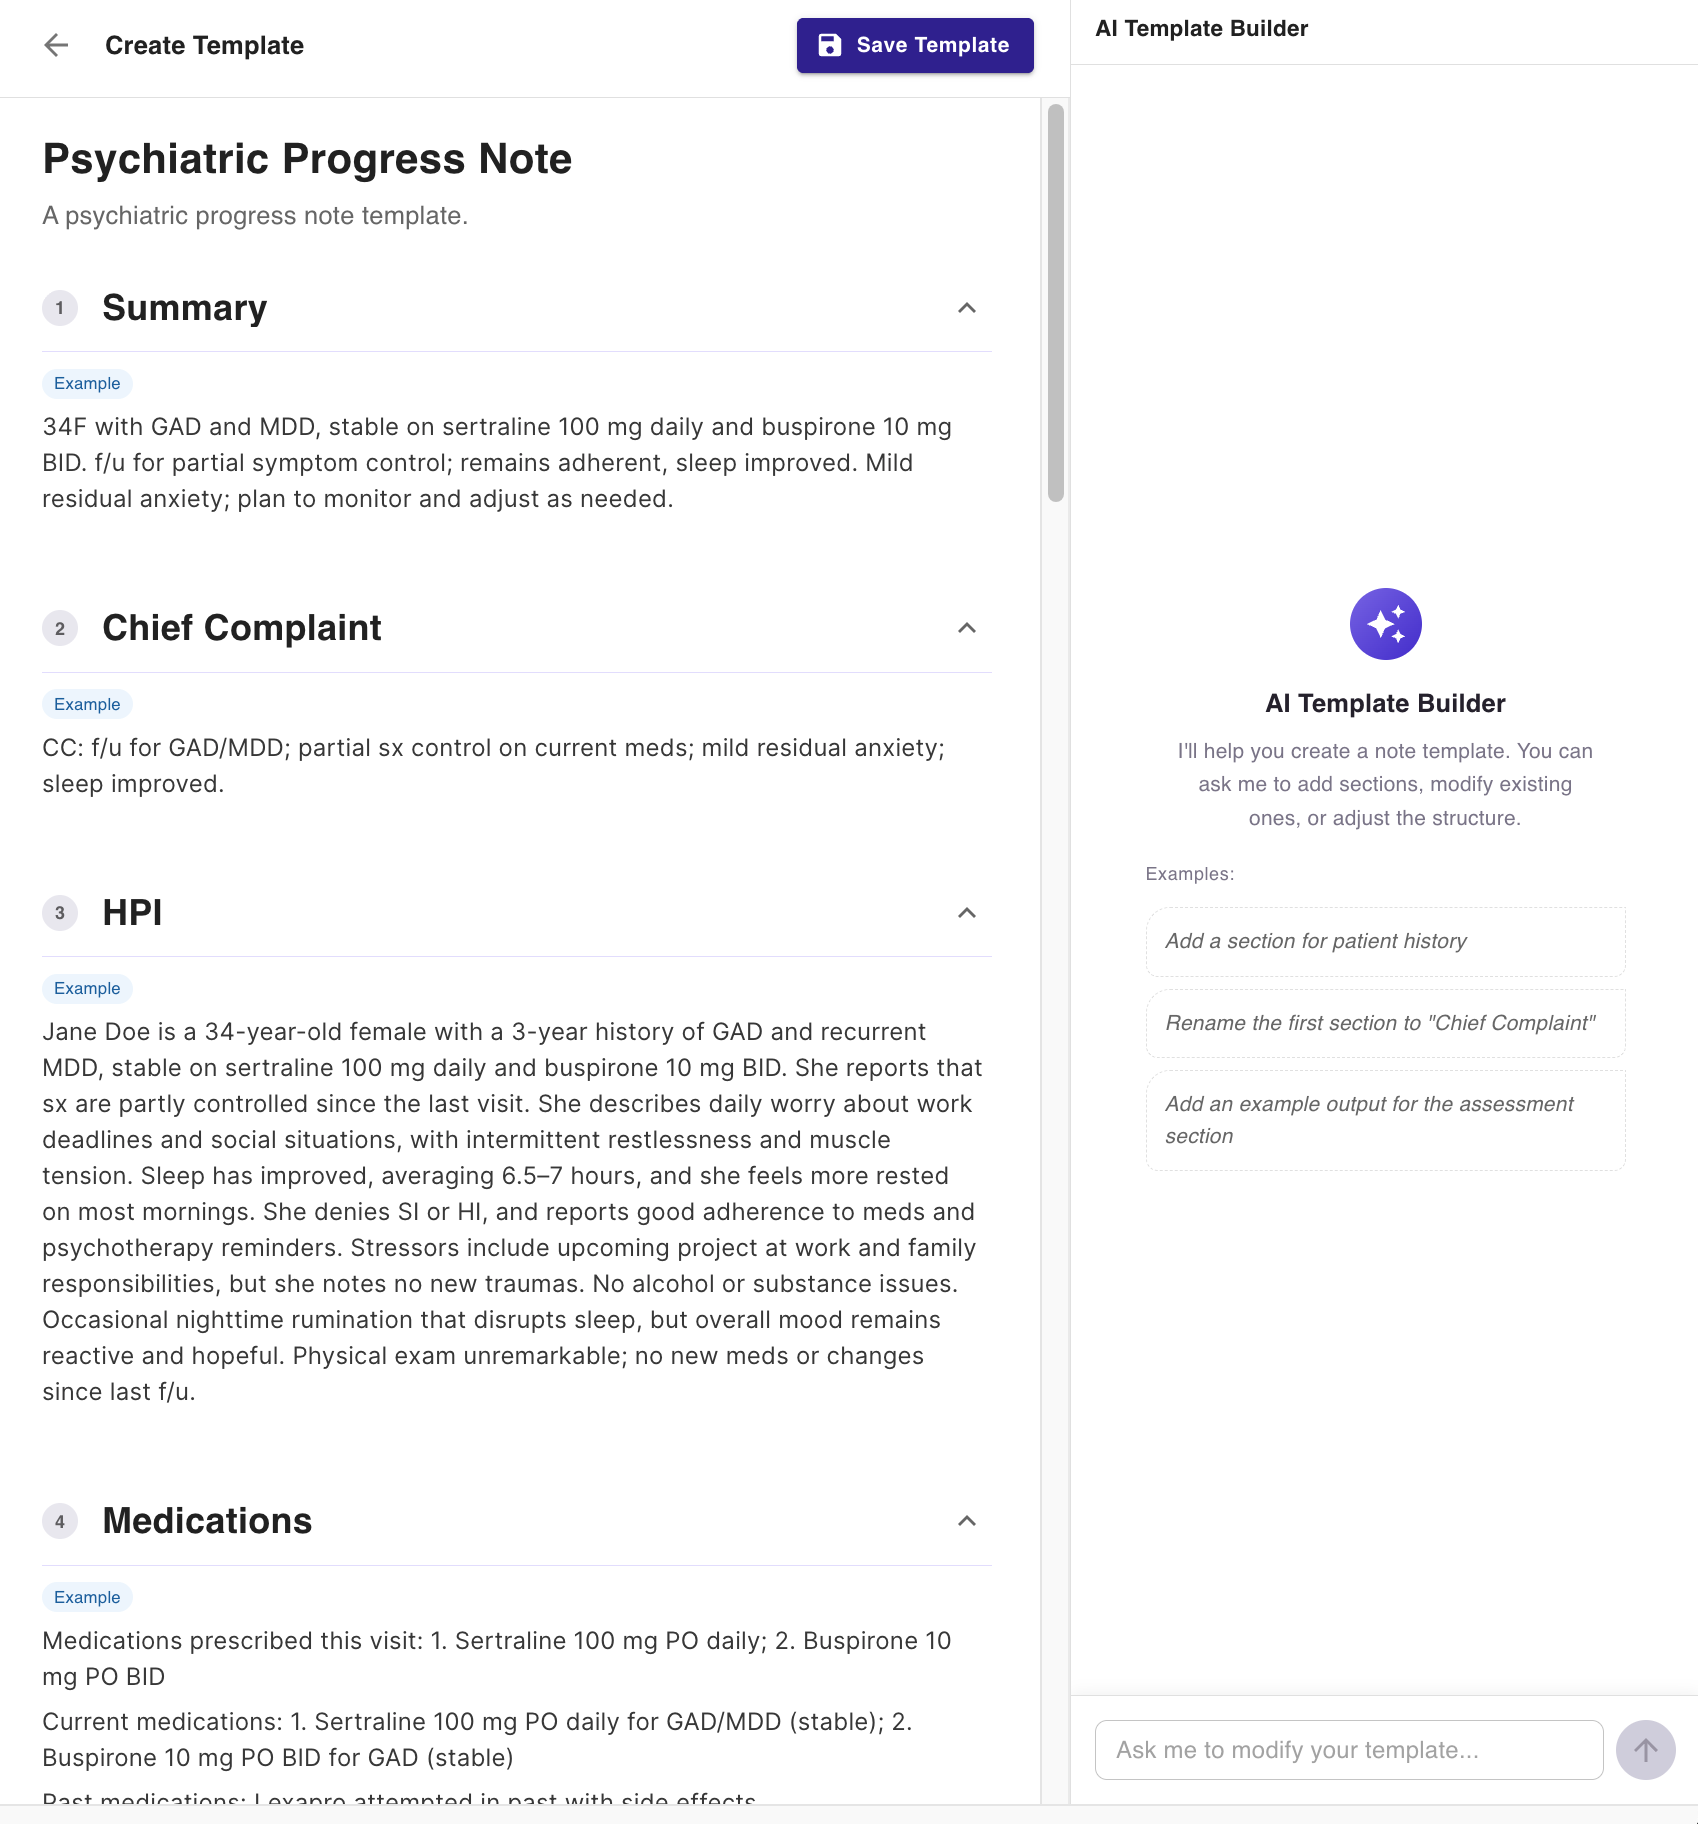
When you select the star icon in the upper-right, it opens an example note with an AI editor on the right side. Here, you can use plain language to customize your template sections, format, and tailor the output to better fit your preferences. Be sure to hit Save Template when you are done.
Upload your own template: Use our Template Builder to bring in a template you already use, and let AI convert it into a JotPsych-compatible format. For more details, please see the article here: https://jotpsych.frontkb.com/en/articles/6141249
Click Browse JotPsych library in the lower-left corner of the screen. Find the template you want to customize and click Add. You can then continue to customize either manually or with the AI template editor.
Customizing an Existing Template
You can customize templates either from inside a note or using the AI template editor.
Edit from inside a note: While viewing a note, select Edit template. In this modal you can delete, reorder, or add sections. Changes update the note immediately and are saved to the current template and will persist for future notes.
Customize from the templates page: On the templates page, select the template you want to customize. When you select the star icon in the upper-right, it will open a modal on the right side. Here, you can use plain language to adjust your template sections, format, and tailor the output to better fit your preferences.
FAQs
I created a new template. Can I swap my previously created notes onto this new template?
Yes! JotPsych allows you to take your previously created notes and regenerate them using a different template
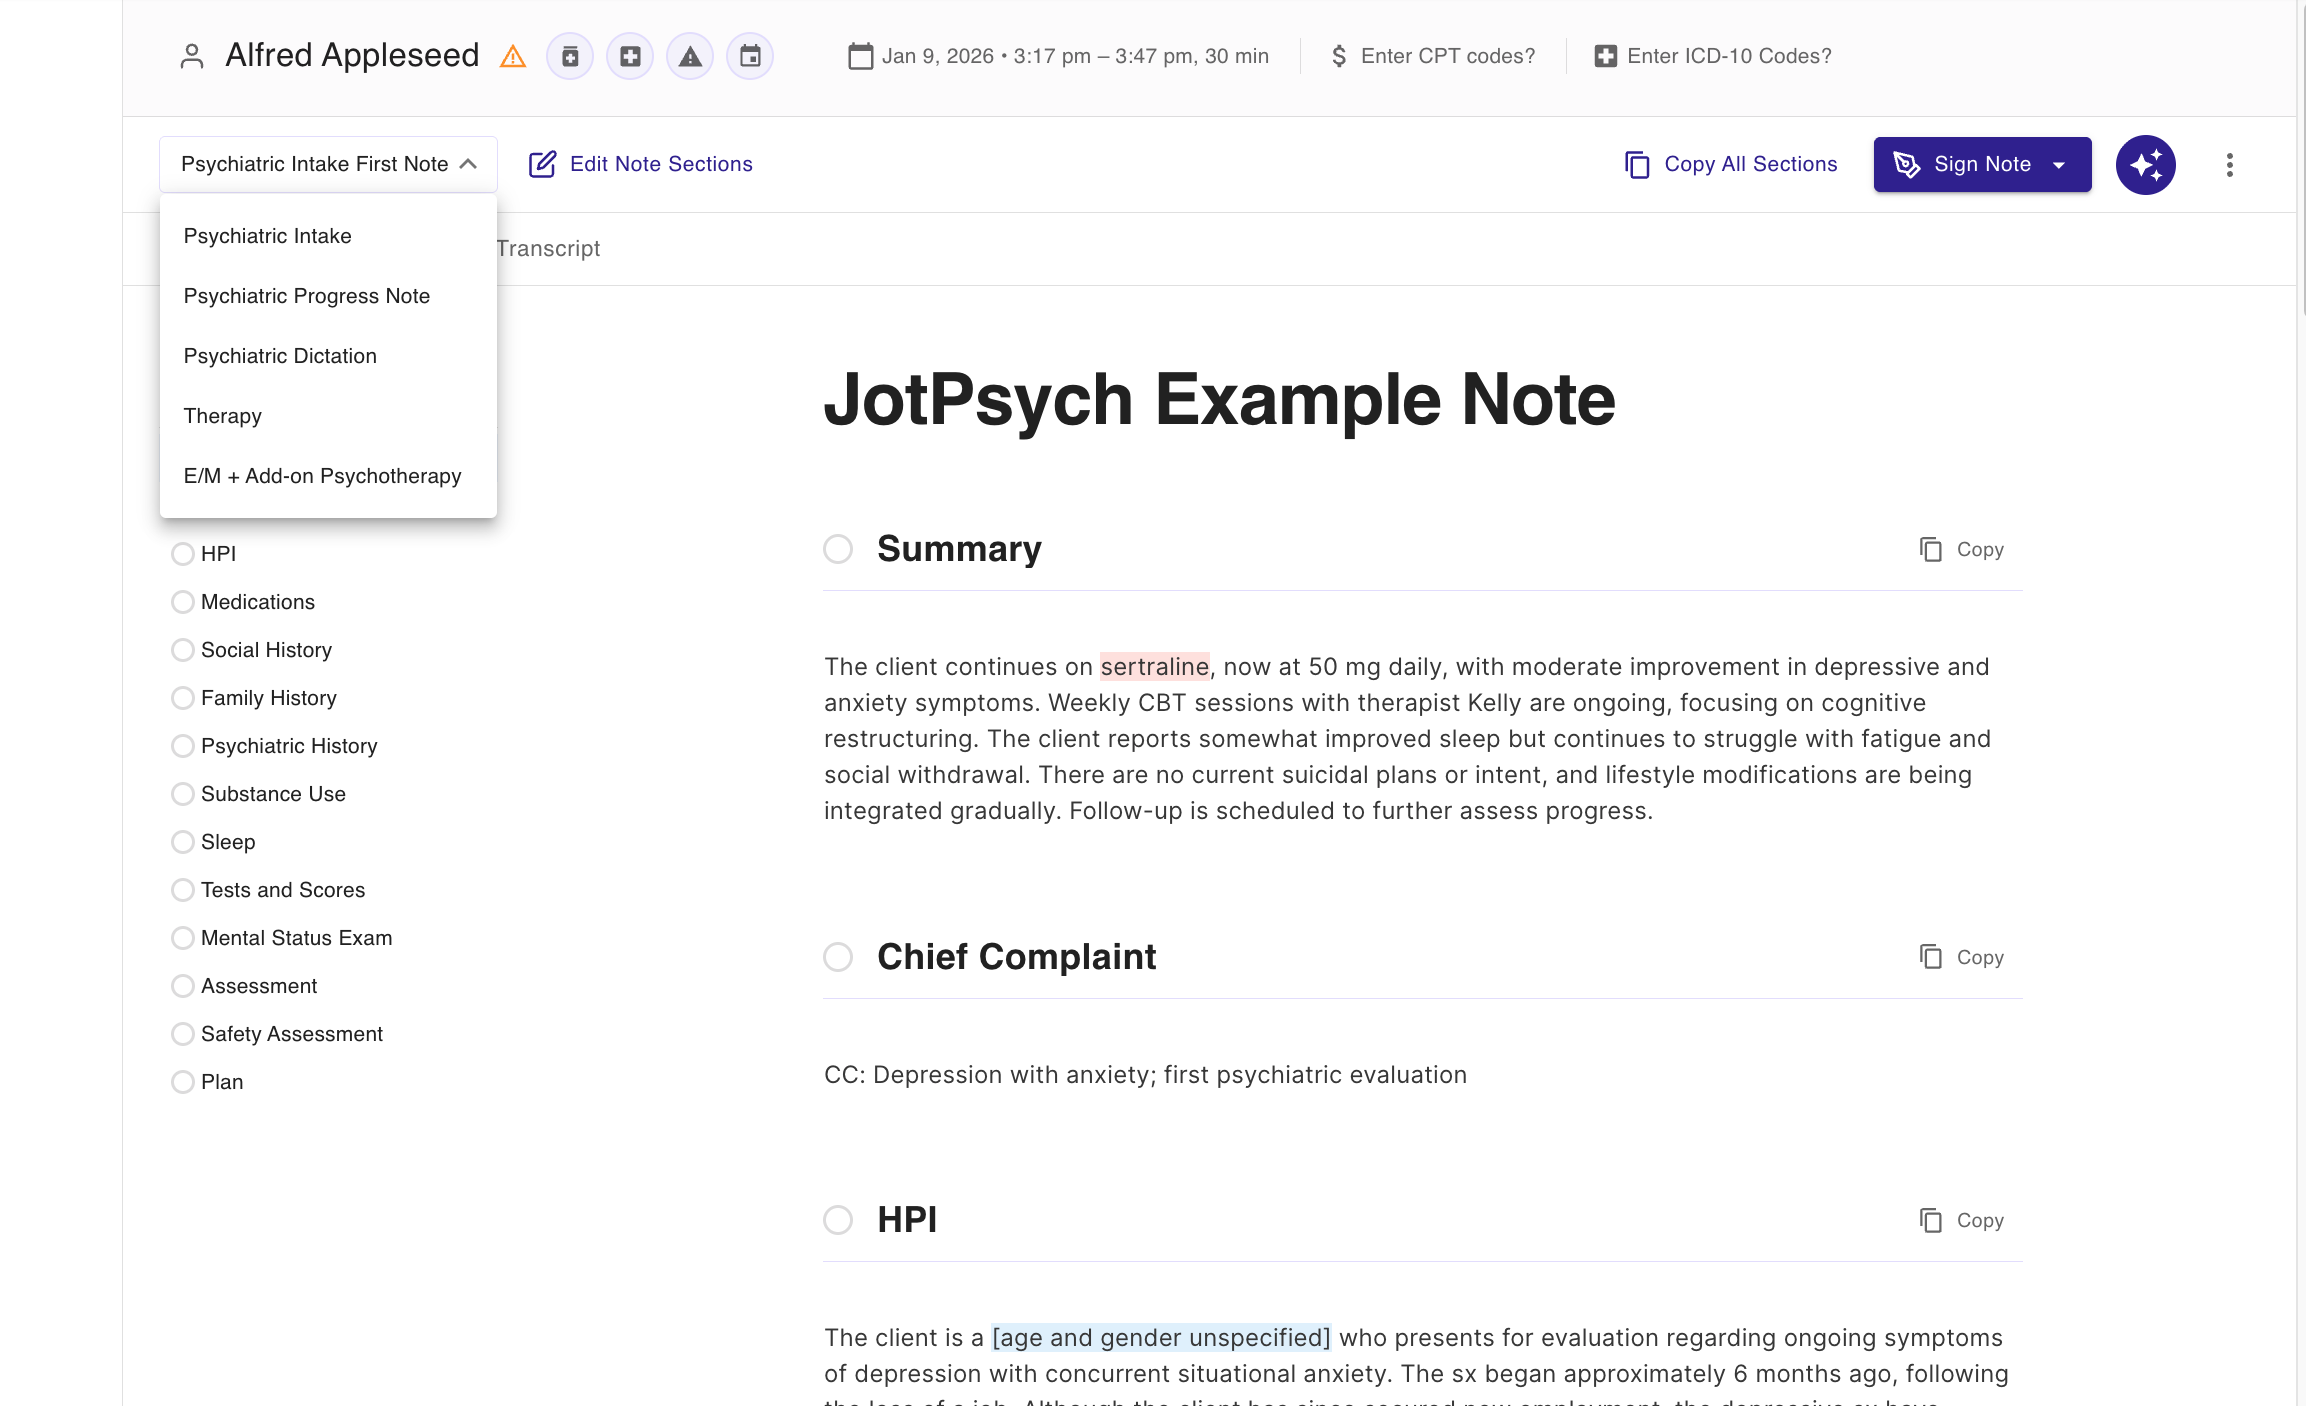
Navigate to the note, then select the current template in the upper left.
It will open a drop down of your options. Select the new template you want to use.
JotPsych will create a new note using the selected template. Your original note will still also be available.